A Guide to Importing Data
NEW UPDATE
In the latest Release of MEX 15, we're excited to share several improvements to our Imports and Exports options in MEX. These enhancements streamline asset management and improve overall efficiency. Here's what you can expect:
- Asset Import: Duplicate Asset Numbers in the import spreadsheet no longer result in asset movement.
- Improved Validation: Enhanced detection of identical Asset Numbers when importing Readings, ensuring accurate data integration.
- Fuel Imports: Fuel imports now correctly create Readings for Assets listed in the import.
If you haven't explored Imports in MEX yet, we invite you to check out our comprehensive guide below.
Importing Data into MEX
Importing your data into MEX can make life so much easier for you. Over the last few versions of MEX we have gone about improving a number of the import templates and functions to make this process a simple one.
MEX can accommodate for the import of:
- Assets
- Asset APLs
- Assets with Movements
- Catalogue Items
- Contacts
- Fuel
- Prestart Checklists
- Readings
- Requests
- Work Order Spares
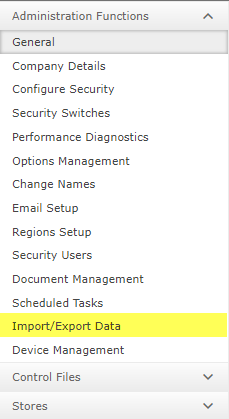
To add an item into MEX through the use of imports, navigate to the Import/Export page by either going through Control Files > Import/Export Data
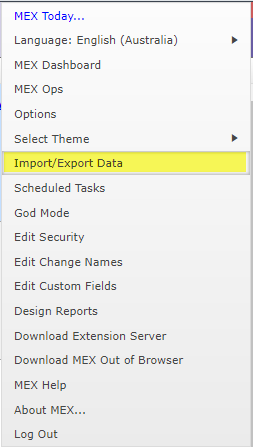
Or by selecting ‘Import/Export’ from the Hamburger dropdown menu at the top right of MEX.
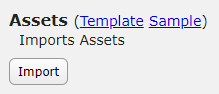
You can download a copy of the import template by selecting the desired import type and clicking on the ‘Template’ hyperlink. (A sample is also provided for further clarification on the import under the ‘Sample’ hyperlink).
![]()
Once the Template has been downloaded, open it up within Excel and then enter the data accordingly. Certain fields will be mandatory, depending on the type of import, and all other information can be left blank or filled in by the user’s choice.
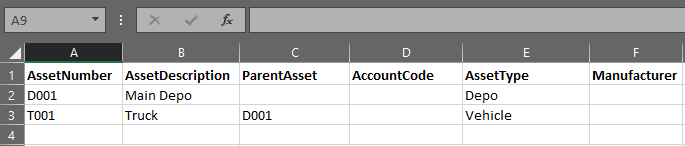
Once the information has been filled out in the spreadsheet, save the Excel file and return to MEX and click on the ‘Import’ button.
Your data has now been imported successfully into MEX!
Troubleshooting tips:
- Avoid using symbols (e.g. !%?*#$)
- Remove any blank spaces in the data fields to avoid unnecessarily importing double data
Exporting Data

Located on the same ‘Import/Export Data’ page there is an ‘Export’ tab. When selected it will display some options for exporting your data. When the Export button is pressed a blue link on the righthand side of the screen will be displayed, selecting this will begin the download for the exported data.

![]()
For more information please contact MEX Support at support@mex.com.au or call +61 7 3392 4777