Creating an Electronic Permit in MEX
MEX electronic permits work in conjunction with Work Orders and are designed to increase the management of hazards within the workplace and aid in the safety communications between managers and responsible parties and staff carrying out works on equipment.
Work permits can be used to help ensure safety requirements are adhered to before starting any maintenance works.
This article will take you through the process of creating a new Permit in MEX and also how to add a range of fields to capture all relevant permit details. A great tool for workplace health and safety management.
- From the MEX Main Menu
- Click the Control Files button
- In the list of controls on the left hand side look for the Permits control file
- Click on Permits
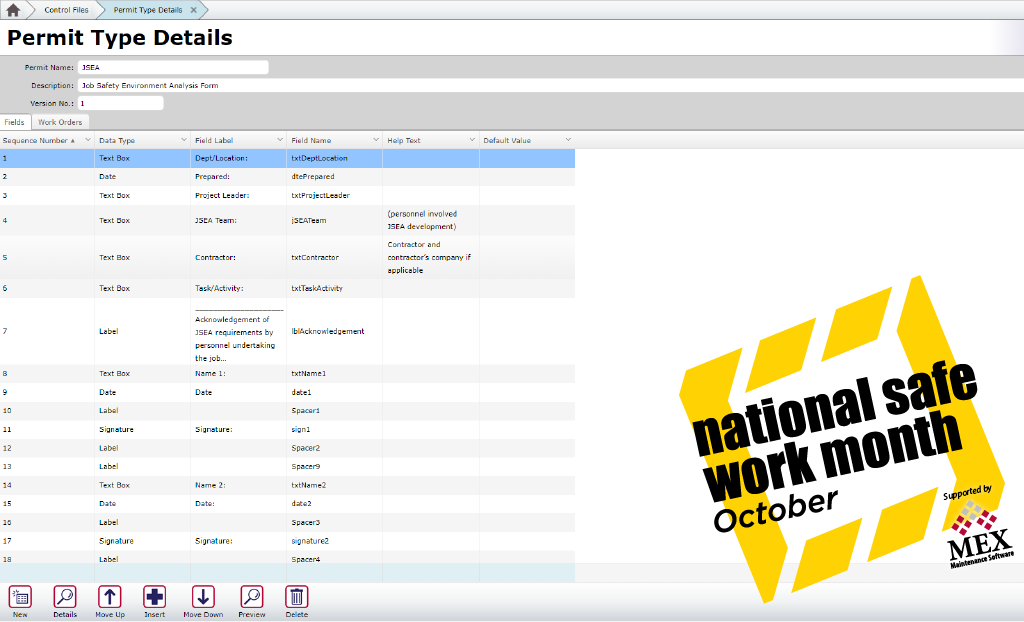
- In the Permits Control File, click on the New button in the bottom left-hand corner of the screen to open up a blank Permit Type Details screen.
- Enter a Permit Name, a Description of the Permit and optionally a Version Number for your new Permit.
- You may now add the various fields to your new Permit.
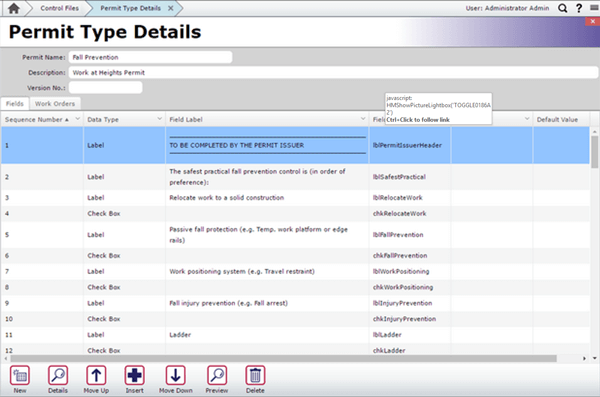
Fields Available for use in Permits
Fields available for use in creating an electronic permit in MEX include check boxes, currency fields, custom controls, date picker, data driven field, documents, drop down, ellipses buttons, image placeholders, map, number, number with decimals, percentages, signature, various text boxes, time and text labels.
Adding a Custom Field to Permit
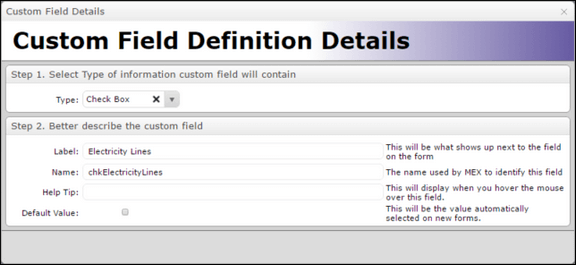
- Click on the New button to open up the Custom Field Details screen
- Select the type of the field that you want to add to the permit.
- Enter a label name into the Label field.
- Enter a name into the Name field and remember to use a name without any spaces
- You can go ahead and enter a Help Text if you want to, this is a non-mandatory option.
- Certain types of field will require additional information. Fields like Custom Control, Ellipses, Map, Label, Data Driven fields, Documents and Signatures.
- Close the Custom Field Definition screen to return to the Permit Details screen.
- You can now position your field relative to any custom fields that you have defined for the area by moving it up and down in the list with the Move Up and Move Down buttons.
- Once you are happy with the look of the Permit you can view the basic layout of the Permit by clicking on the Preview button at the bottom of the screen as shown below:
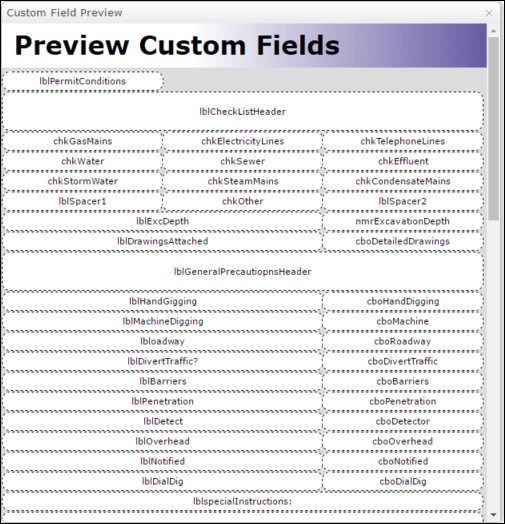
You can now add the Permit to your Work Order or Preventative Maintenance Schedule using the Permits tab in the Details form.
If you have any questions about creating a Permit in MEX, please contact MEX Support at support@mex.com.au or call +61 7 3392 4777.
Keep up to date with our Safe Work Month by visiting this page on our blog: MEX National Safe Work Month