
Getting Started with God Mode
With the latest release of MEX comes the all-new MEX God Mode. An administration tool that focuses on security and greatly improves the ease of customisation of the MEX CMMS.
Accessing God Mode
To access God Mode
- Click the Hamburger menu
- Scroll down and click God Mode
- This will open up the God Mode menu
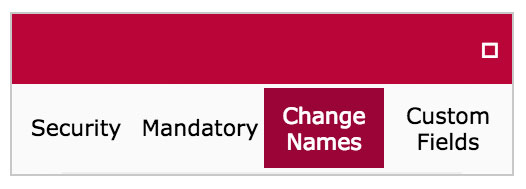
This is a floating menu that will sit above all lists and forms within MEX. Clicking either Security, Mandatory, Change Names or Custom Fields will activate that particular feature and open up each one’s respective options.
Working in Security
Scroll to the area in MEX you would like to set security on and open the God Mode menu.
- Start by clicking Security in the God Mode Menu
- Select the Security Group
- Four options will be made available to you
- Clear
- Set Not Visible
- Set Disabled
- Set Read Only
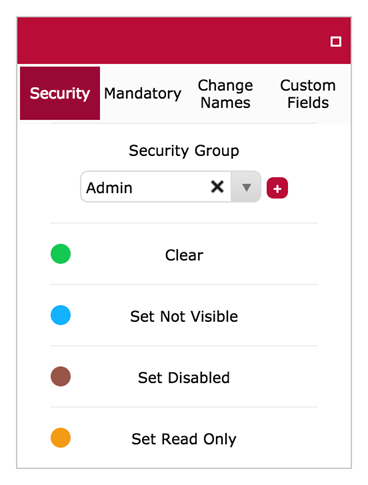
- Select on option and either single click/drag on the control on your list or form to set the security
- If you make a mistake click the clear option and click/drag over the control again to clear
Mandatory Settings in One Click
- Start by clicking Mandatory in the God Mode Menu
- Select the Security Group
- Three options will be made available to you
- Clear
- Zero Value Allowed
- Zero Value Not Allowed
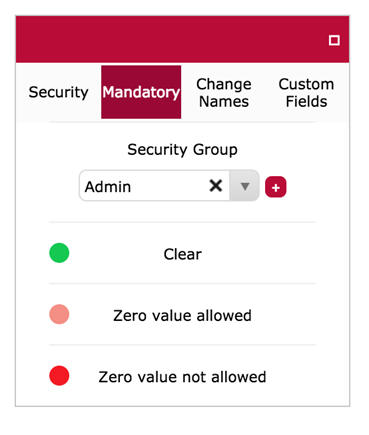
- Select on option and either single click/drag on the control on your list or form to set the mandatory security
- If you make a mistake click the clear option and click/drag over the control again to clear
Changing Names in MEX
Changing names in MEX has been simplified. All you need to do is click and change.
- Start by clicking Change Names in the God Mode Menu
- Go to the form or list you are working in and click any Label
- A curser will appear in the label and you can go ahead and change it
Every label that has been changed will have a small red button with a red x above it. This is the reset button for that label. Clicking it will reset the label to its original text.
Customising Made Simple
With God Mode comes the full power of customising your MEX system with the drop of a hat. God Mode lays out a grid for you to work in and gives you a whole list of controls to add to any list or form in MEX.
- Start by clicking Custom Fields in the God Mode Menu
- A green grid will appear over all available areas inside the form and areas you can add a control to. Please note that for lists the custom control will be added to the right of all existing columns.
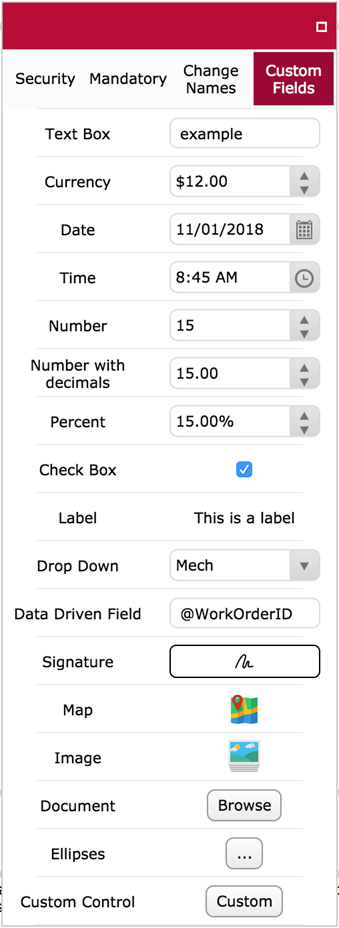
- Controls available for use are
- Text Box
- Currency
- Date
- Time
- Number
- Number with Decimals
- Percent
- Check Box
- Label
- Drop Down
- Data Driven Field
- Signature
- Map
- Image
- Document
- Ellipses
- Custom Control
- Simply drag a control onto the Grid
- Resize the control by clicking and dragging the edges
- Give the control a Field Name to be referenced in the database for any reporting you need to do.
- Set a label for the control
- And you’re done.
- Simply turn off the control, exit out of the form or list and reopen it to see your new custom control in action.
Deactivating a God Mode Feature
In order to allow you to get out of a God Mode option and back to using MEX, you must deselect the option you have been working in. For example, if you are using Change Names. Click on the Change Name option highlighted in red on the God Mode menu and this will deactivate it.
For more information see our God Mode information page: